mobile lightroom preset
- All products
- Uncategorized0 products
- Bundle1 product
- customized sony color profile1 product
- Electronics18 products
- F&B1 product
- Forest1 product
Furniture0 products
- home1 product
- Home Goods1 product
- Little Ones1 product
- mobile lightroom preset0 products
- mobile lut0 products
- Seaside1 product
- the lake0 products
- the lake new1 product
- To Wear1 product
- Tortured Poets1 product
Toggle to hold the "after" image
Toggle to hold the "after" image
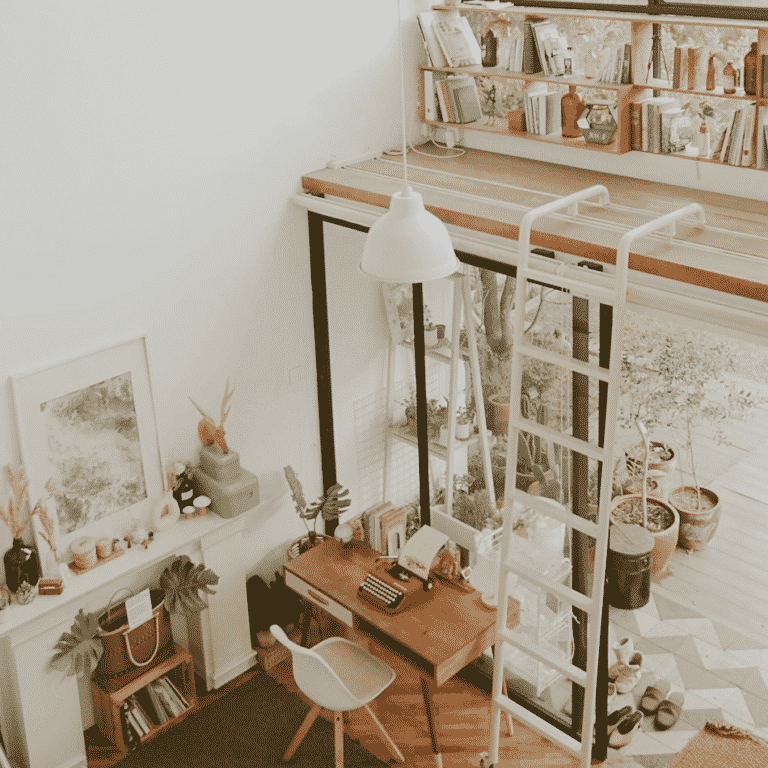
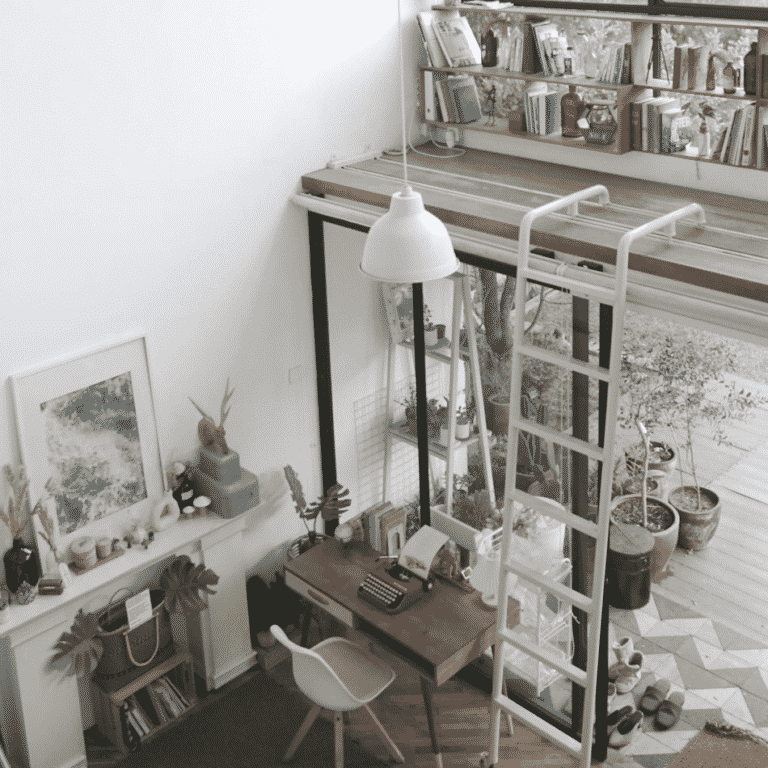
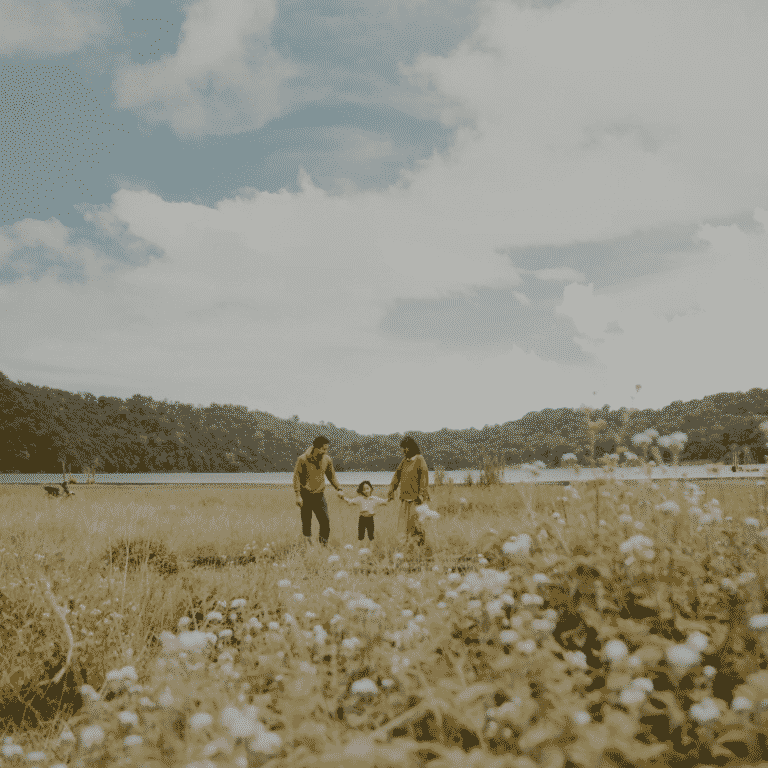
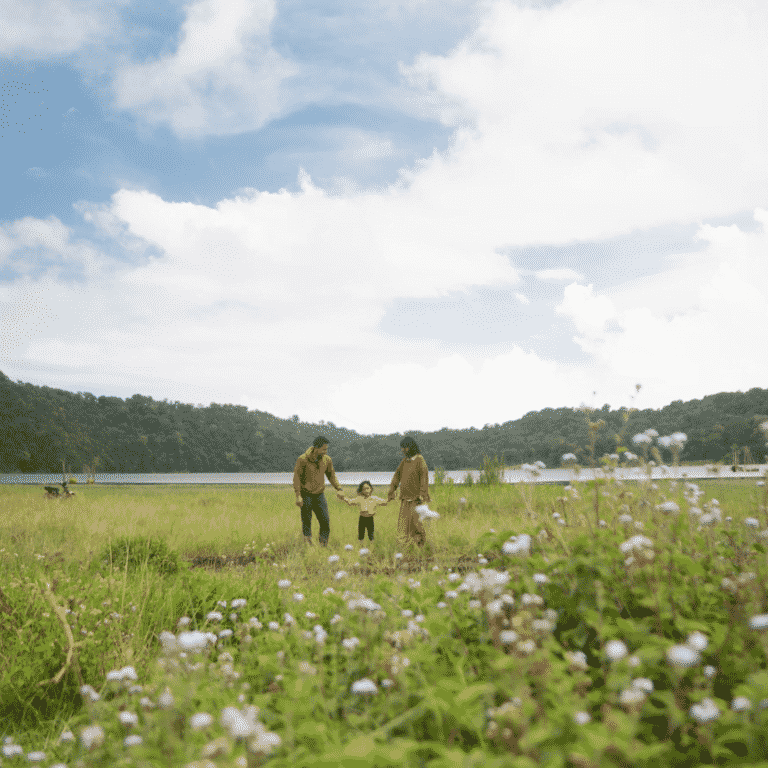
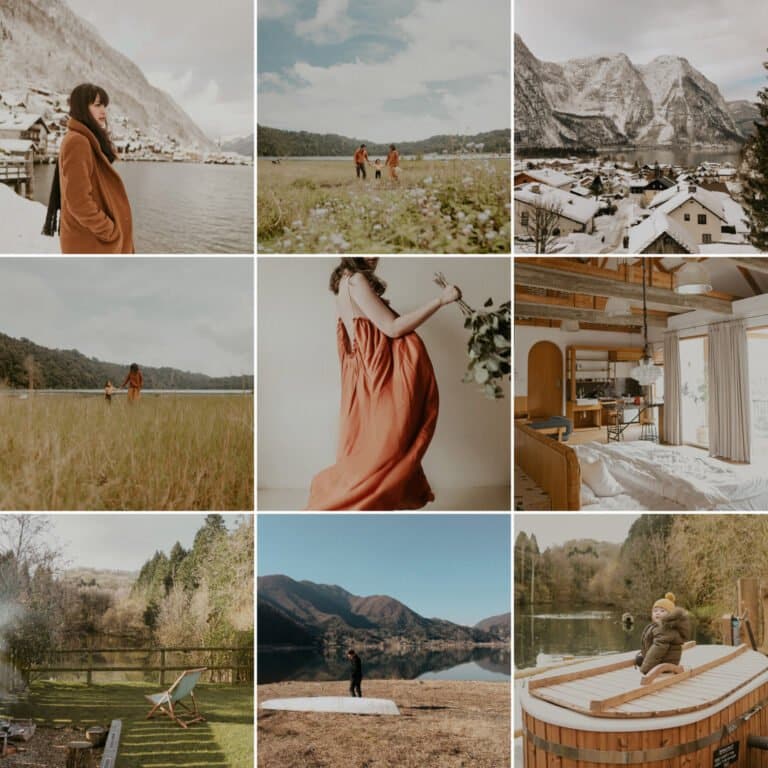
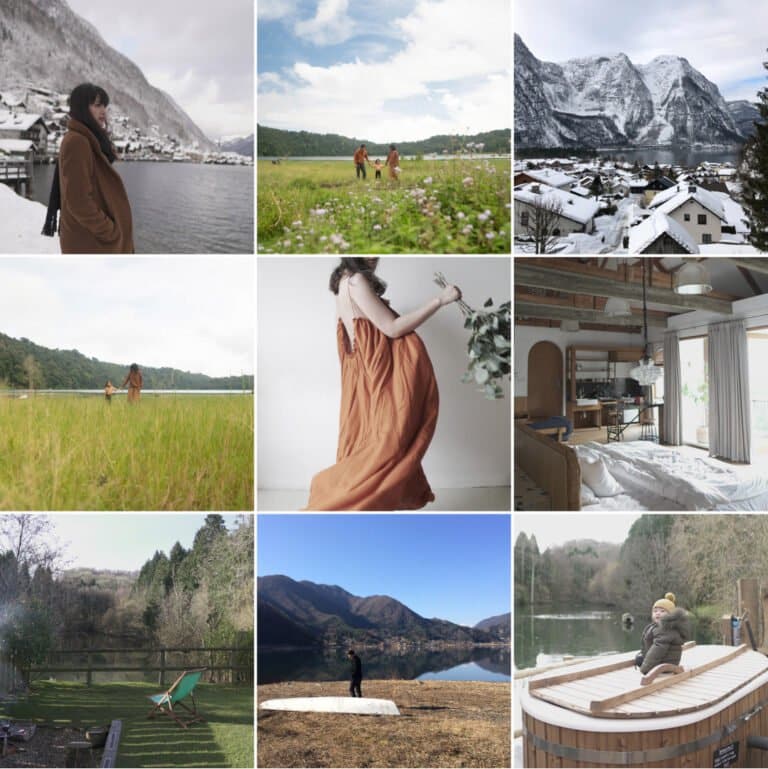
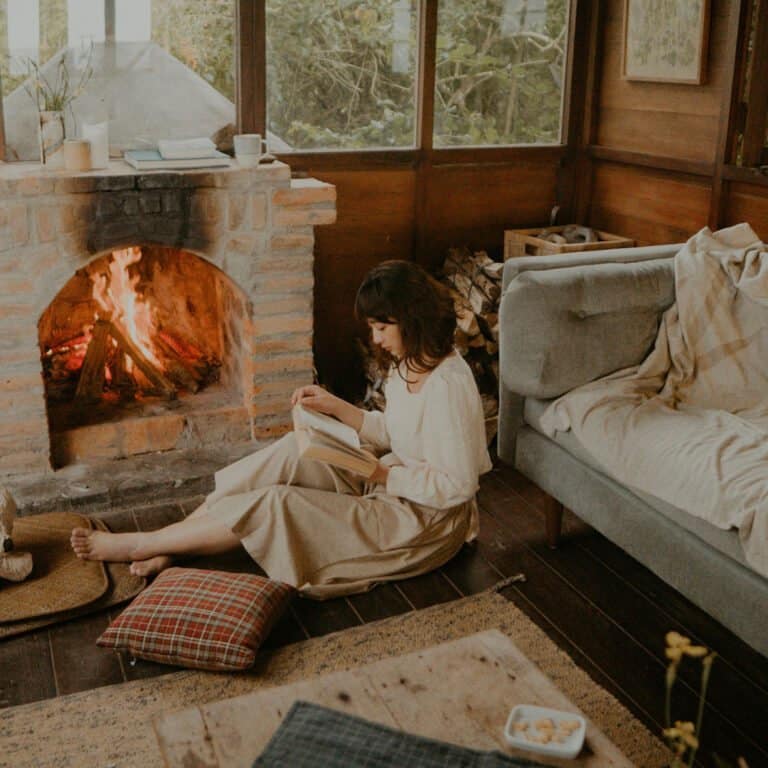
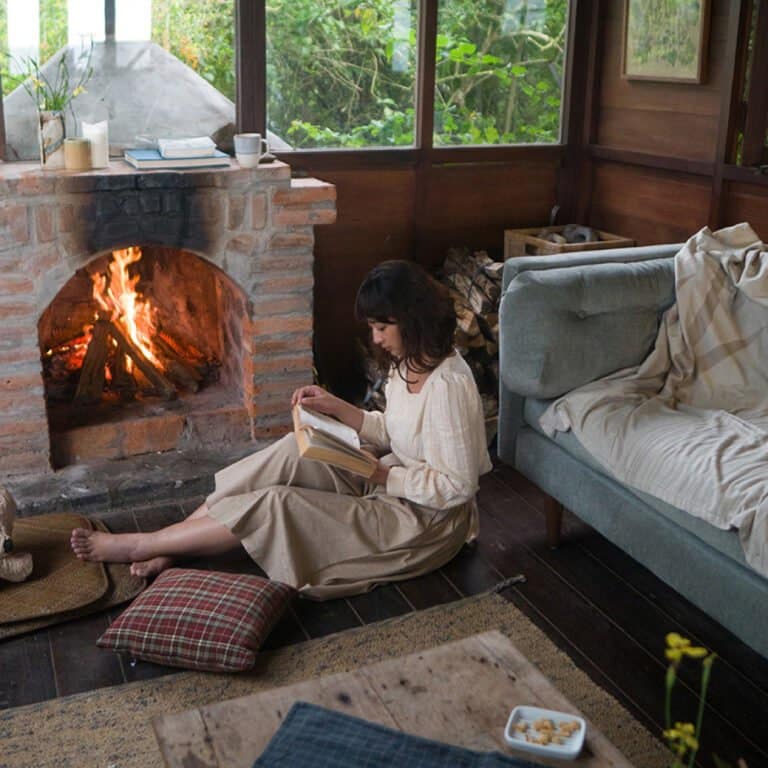
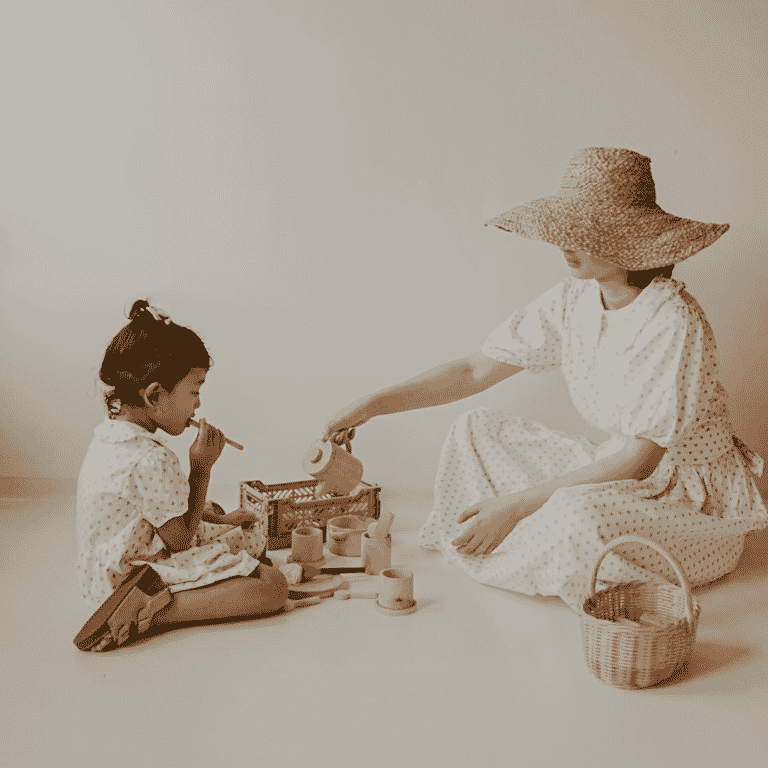
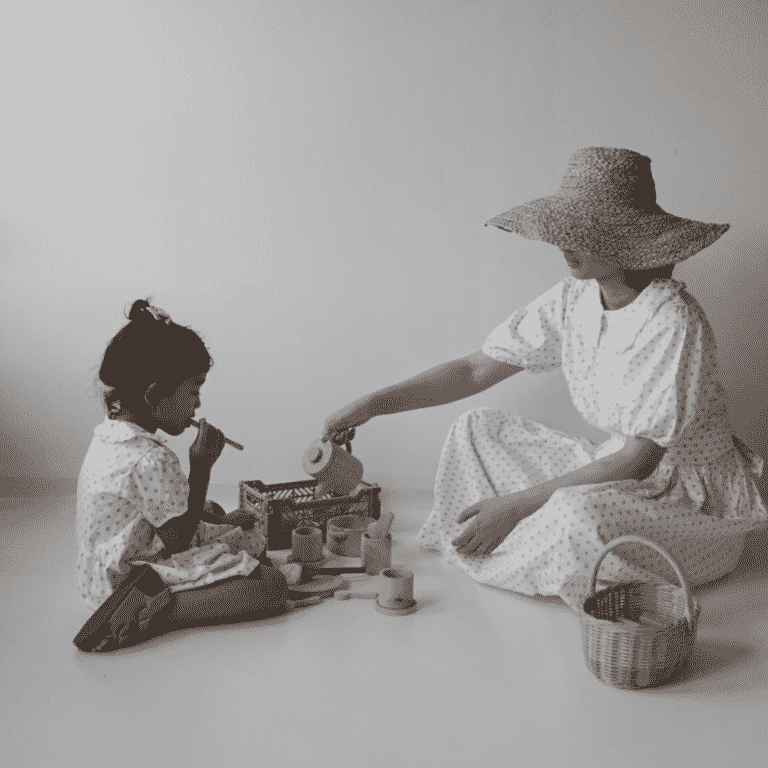
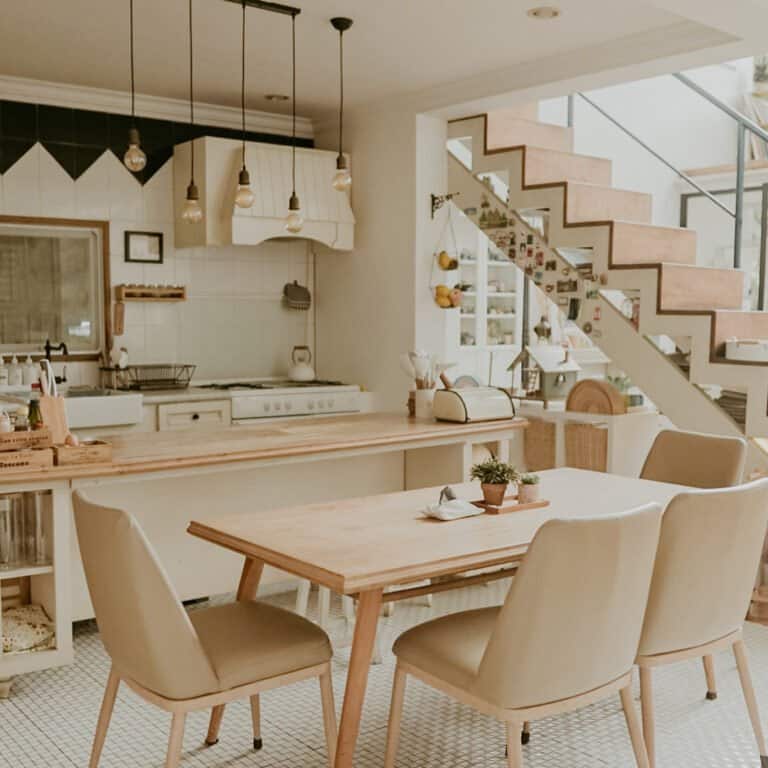
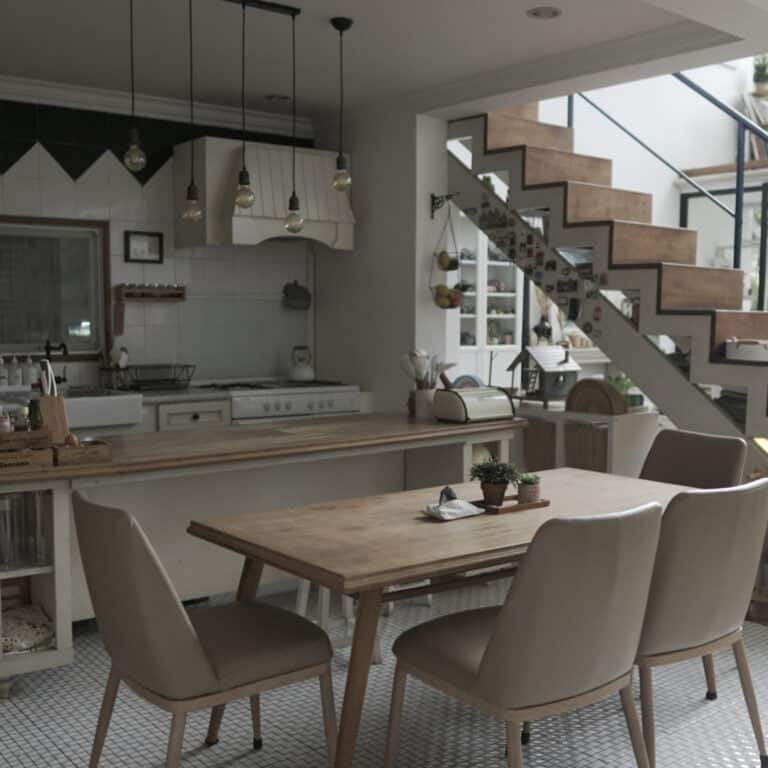
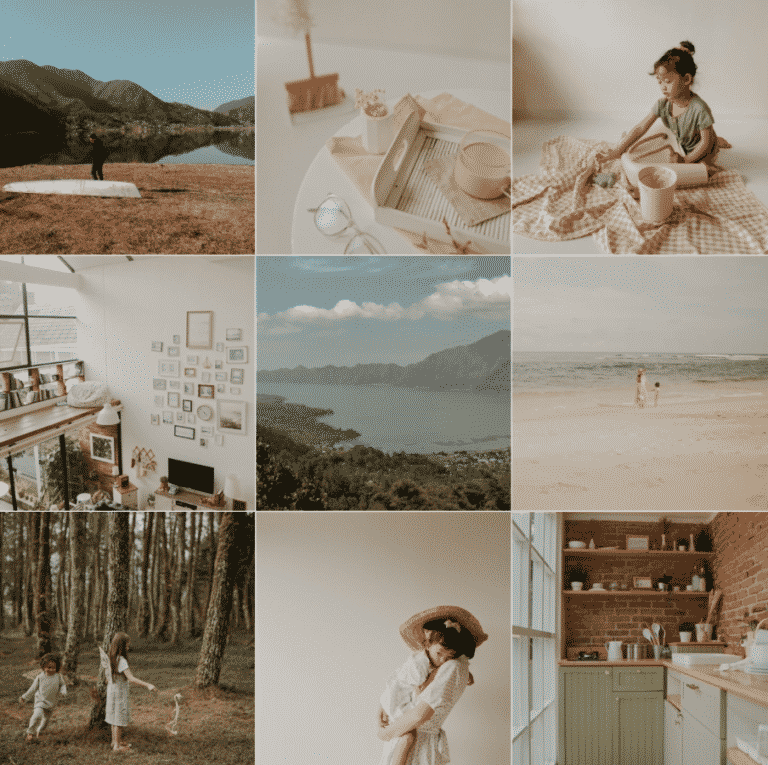
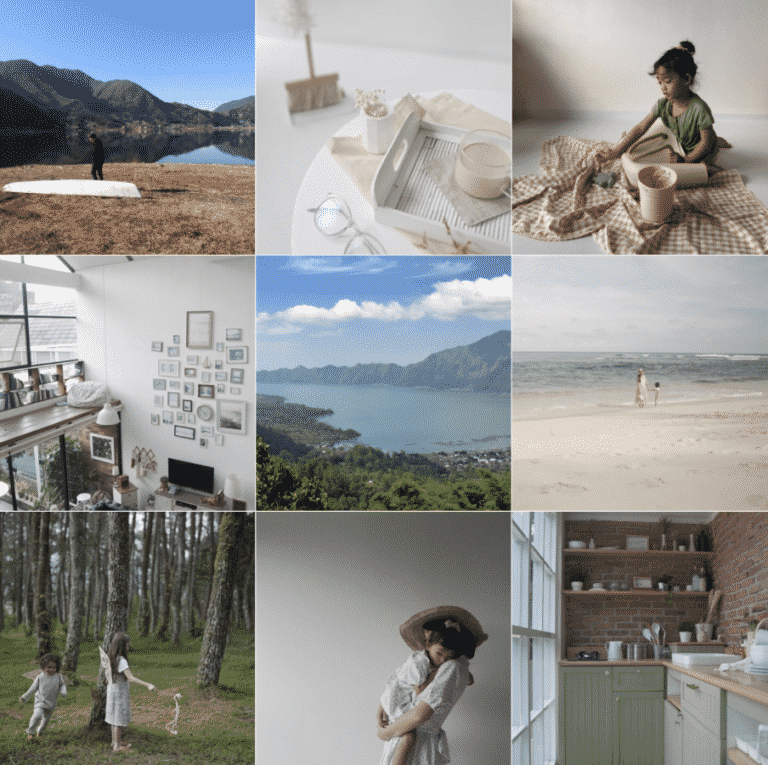
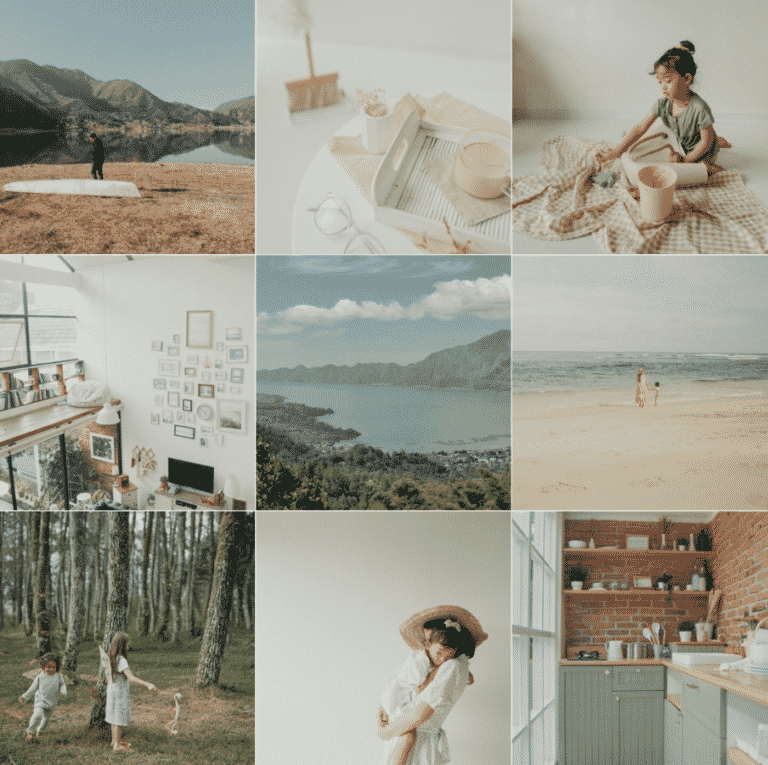
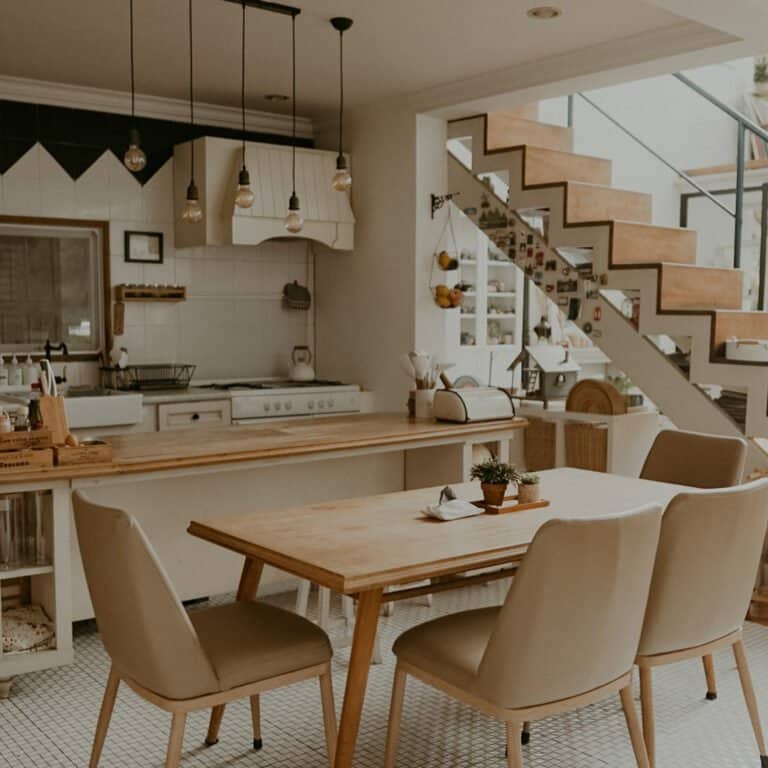
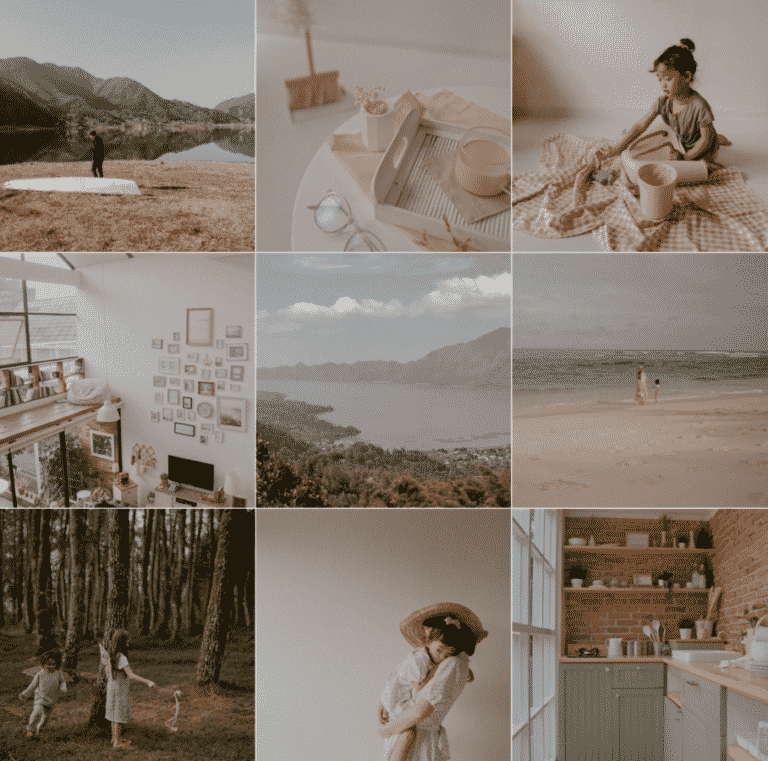
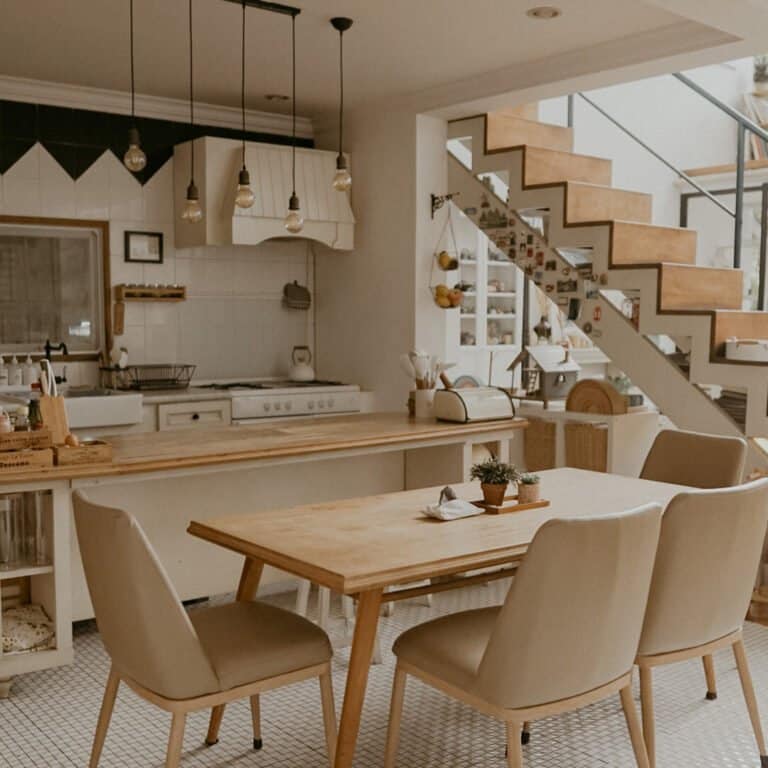
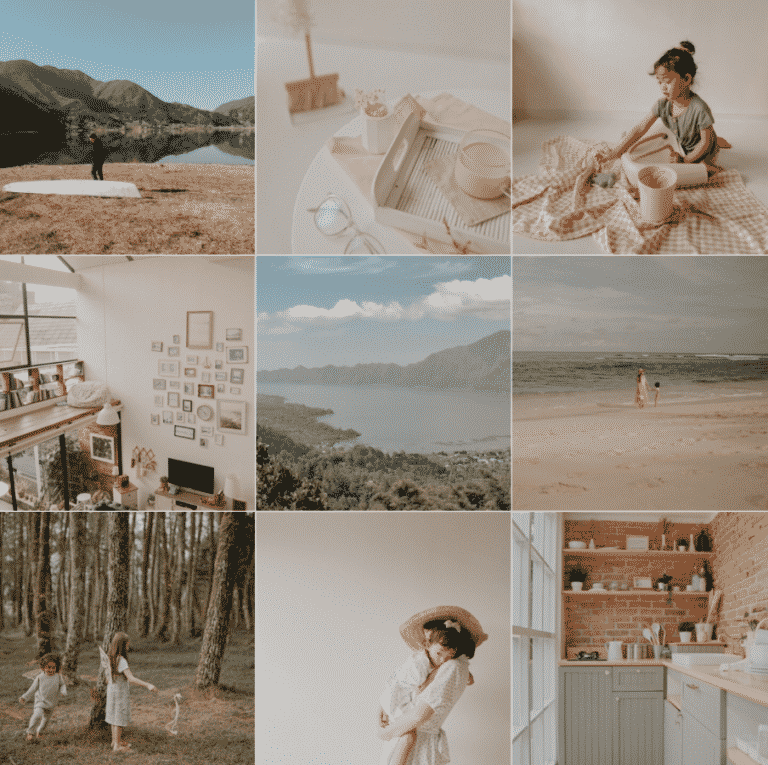
PRESETS QUICK COMPARISON
Toggle to hold the "after" image
HOW TO INSTALL
Follow these steps to download the presets & LUTs. If you experience any problems, don’t hesitate to contact me through email [email protected] or shoot me a DM at Instagram @rivinandya
Step 01
Once you decide which presets you love, hit purchase, and go through the checkout process!
Step 02
Then, you’ll head over to check your email inbox and grab your download.
Step 03
Then, you’ll head over to check your email inbox and grab your download.
Follow these steps to install & enjoy your presets. This document will also be included in your downloads. If you experience any problems, don’t hesitate to contact me through email [email protected] or shoot me a DM at Instagram @rivinandya
Step 01
Download and Unzip the .DNG files and access them in your phone (files app)
In Android
>> My Files app
>> Downloads
>> Unzip & open the files you downloaded
>> Select the files
>> Tap the Lightroom Icon (make sure you have it installed and open)
In IOS
>> Files app
>> Downloads Folder
>> Unzip the files (.dng files will look blank)
>> Select the files
>> Tap the arrow up button
>> Open with Lightroom or Send copy to Lightroom.
Step 02
In Lightroom Mobile, go to the recently added photos
>> Open the preset image
>> Tap the 3 dots in the top right corner
>> Click 'Create Preset'
>> Name your preset
>> Name the preset group
>> Save
Step 03
Go back to your lightroom photos
>>Add or select your own photo and open it to edit.
>>Scroll the bottom panel to the 'Presets' icon.
>> Scroll to bottom and choose the ‘Preset Group Name’ you’ve created.
>> Tap on the preset name & voila!
Suggested Tweaks
After applying the presets, you can edit & adjust these based on your preference.
Light
>> Exposure - is most always needed after applying the presets.
>> Tone Curve - adjusts shadows & highlights of the overall image.
Color
>> Color Temperature - warmer or cooler / white balance
>> Vibrance
>> Saturation
>> Color Mix (the rainbow Icon - you can adjust each color if certain colors to your preference. )
Effects
>> Dehaze tool
After you’re done, you can copy & paste the settings you’ve adjusted to other photos as well.
Follow these steps to install & enjoy your LUTs. This document will also be included in your downloads. If you experience any problems, don’t hesitate to contact me through email [email protected] or shoot me a DM at Instagram @rivinandya
Important Guidelines before using LUTs
My LUTs are tested for specific apps called Lumafusion & VN. Feel free to use it with other mobile apps that support .cube files but do know that they may not have been tested.
You can also use the LUTs with Desktop version of editing apps that support .cube LUT files like Adobe Premiere or Final Cut Pro.
Ensure white balance is correct when using LUTs! This will dramatically change the look of the LUT.
When using LUTs, your footage may need adjustments to get optimal results, such as exposure, saturation, contrast, etc. depending on your preference.
Shooting conditions such as lighting, weather, locations etc. can vary which can drastically affect a LUTs look. Some LUTs will work better in different scenarios depending the conditions.
My LUTs are made based on my preset tones, but doesn’t include specific effects such as smoothing, grain, noise reduction, or sharpening, so the output of your preset edited photos may not look 100% the same as your LUT applied videos.
Step 01
Download and Unzip the .CUBE files and access them in your phone (files app)
In Android
>> My Files app
>> Downloads
>> Unzip & open the files you downloaded
>> Select the files
>> Tap the VN Icon (make sure you have it installed and open)
In IOS
>> Files app
>> Downloads Folder
>> Unzip the files (.cube files will look blank)
>> Select the files
>> Tap the arrow up button
>> Share/Open in LumaFusion / VN (make sure to have it pre-installed.)
Step 02
Open Lumafusion/VN App. You will see that the LUTs files are imported.
>> Name & create your project
>> Drag in your footage to the timeline. >> Tap & select the footage you want to apply the LUTs to.
Step 03
In Lumafusion
>> Tap ‘pencil’ icon to edit the footage
>> Tap the ‘star’ icon for ‘color & effects’
>> Tap the ‘cube’ icon and select the imported LUTs you want to apply.
>> You can tweak the strength of the LUT by adjusting the ‘blend’ slider.
You can tweak your original video color settings by adding original effects.
>> Select footage
>>‘Pencil’ Icon
>> ‘Star’ Icon Color & effects
>> ‘Palette’ icon
>> Original
>> Tweak exposure, saturation, contrast, etc. depending on your preference.
In VN
>> Tap Filter & you will see the LUTs imported at the custom tab there
>> Select the one you prefer.
>>You can tweak the strength of the LUT by adjusting the ‘intensity’ slider.
>>You can tweak more by selecting ‘adjust’ and there you can adjust exposure, saturation etc.
FREQUENTLY ASKED QUESTIONS
Presets are a quick way to edit your photos, but you’ll also need to learn how different settings, adjustments, and sliders work. While it’s quicker than doing everything manually, the presets I made is a base to make them all look unified with minimal adjustments needed after being applied.
As presets is only for photos in Lightroom, LUTS is like a preset for videos. It will improve the look of your high quality videos footages, making it appear consistent and unified with your photos. The LUTS I’ve created are based on my presets and can be used in iOS apps like Lumafusion, or desktop softwares that is able to import .cube files.
The LUTs may need a little bit tweaking.
In Lumafusion for iOS or iPhone, you can adjust the balance slider.
I am not a magician, and I cannot magically transform the colours of a photo / video with a single preset. The presets are made to create consistent theme and unify your pictures as a whole, whether it’s for a photo album or your instagram feed.
Each gadget, whether it is your camera or your phone, each different light at each place is different. In order to produce the same exact tone for a picture, you need the same exact gadget, with the same exact settings, at the same exact place, & with the same exact lighting. So each photo will probably need little bit of tweaking for it to be consistent and have a similar tone.
Suggested tweaks after applying preset: exposure, color, and dehaze in the effects tool.
If you juggle between your phone & camera like me, please read about Color Profile and the difference when using different gadgets at the next question.
Most of all, all pictures will look best with a good light source which is the sun. No presets can ever help improve poorly taken photos. Please take your time to learn about basic photography & lighting. The presets & LUTS are made to create the BASE, for a consistent theme and unify your photos & videos as a whole. The best way to be consistent is to shoot with the colours you want on your feed while the presets & LUTs will act as the base for that extra oomph and unite your photos/videos as a whole.

